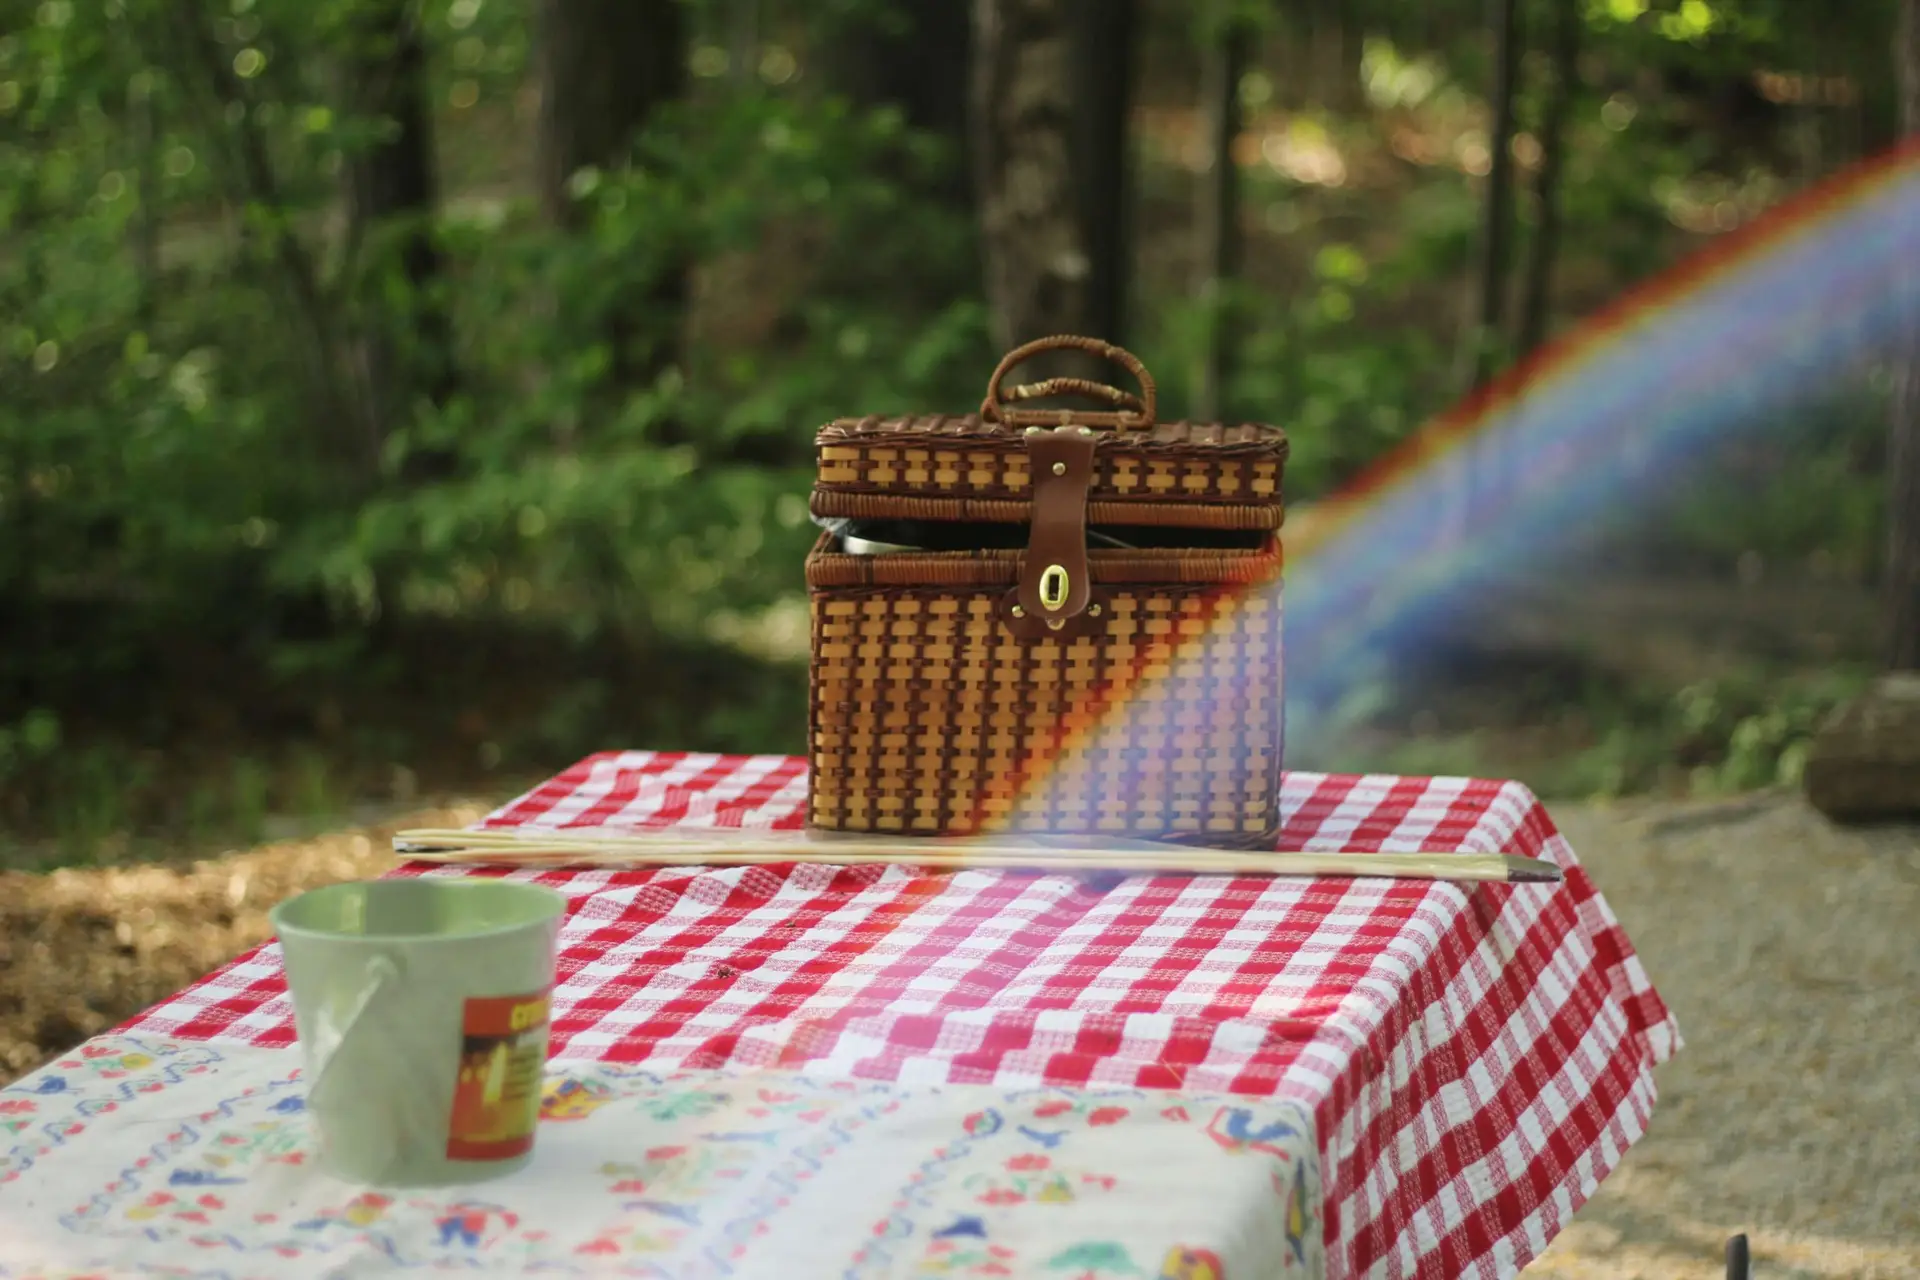
Are you looking for a fun and meaningful DIY project to do with your kids? One fantastic idea is to build a kids’ picnic table that you can use for outdoor family meals, playtime, and other activities. Not only will this project offer a bonding opportunity with your children, but it is also a practical and cost-effective solution to enhance your outdoor space. In this blog post, we will discuss some DIY kids picnic table plans that you can try out, along with some tips and tricks to make this project successful.
Step 1: Gather the Tools and Materials
Before you start building a kids’ picnic table, it’s important to gather all the necessary tools and materials. You will need a saw, drill, hammer, screws, wood glue, sandpaper, and of course, wood. Typically, cedar or redwood are the best choices for outdoor projects because they are resistant to insects and decay. Keep in mind that the size and dimension of your picnic table will depend on the age and size of your children. A standard size for a kids’ picnic table is around four feet long and 28 inches wide.
Step 2: Assembling Your Kids Picnic Table Plans
Once you have gathered all the tools and materials, you can start cutting and assembling the wood. Follow the plan set for the picnic table and proceed accordingly. To ensure that the table is sturdy and safe for your kids, make sure that all the legs and crossbars are properly secured with screws and bolts. Additionally, sand all surfaces to ensure there are no sharp corners or splinters on the picnic table.
Step 3: Paint or Stain the Table
After assembling the table, you may choose to paint or stain it. Painting the picnic table will provide a colorful and fun appeal, whereas staining the table will give it a rustic look. Be sure to use a paint or stain that is safe for children. Moreover, make sure you let it dry for several hours before using it.
Step 4: Enjoy Your New Picnic Table
Once the paint or stain has dried, you and your kids can enjoy your new picnic table. You can use it for outdoor meals, playtime, crafts, or simply sitting and enjoying the outdoors. You can also use it as an opportunity to teach your kids about outdoor safety, hygiene, and responsibility by making sure they always wash their hands before and after eating or playing outdoors.
Tips and Tricks
– Always wear the proper protective gear when handling power tools, such as glasses and gloves.
– Check the safety mechanisms of your saw and drill before using them.
– Have your children help with simple tasks like sanding or painting to make them feel involved and teach them valuable skills.
– Treat the wood with an appropriate sealant to prolong the life of the table.
Conclusion
Crafting a kids’ picnic table is a rewarding bonding experience with children that provides both practicality and cost-effectiveness for outdoor activities. With the guidance of DIY plans and helpful tips, you can successfully complete this project while creating enduring memories. Meanwhile, GPS location app, ensuring that family connections remain strong and secure throughout your shared endeavors.
Interested in what Troomi can do for your kids? Click here to learn more!

