New to Troomi? Let's Get Your Family Connected!
Welcome to the Troomi family! Adding a device is as easy as pie (or pressing a few buttons). Create a Parent Portal account, select “Add a Device,” and follow the prompts. Soon, your new device will be ready to roll with all the safety and fun Troomi has to offer.
Time for an Upgrade? Let's Get Started!
Already part of the Troomi family and ready to replace or upgrade a device? Great news—it’s simple! Log in to your Parent Portal, select the profile linked to the device you’re replacing, and follow the prompts to pair your new device.
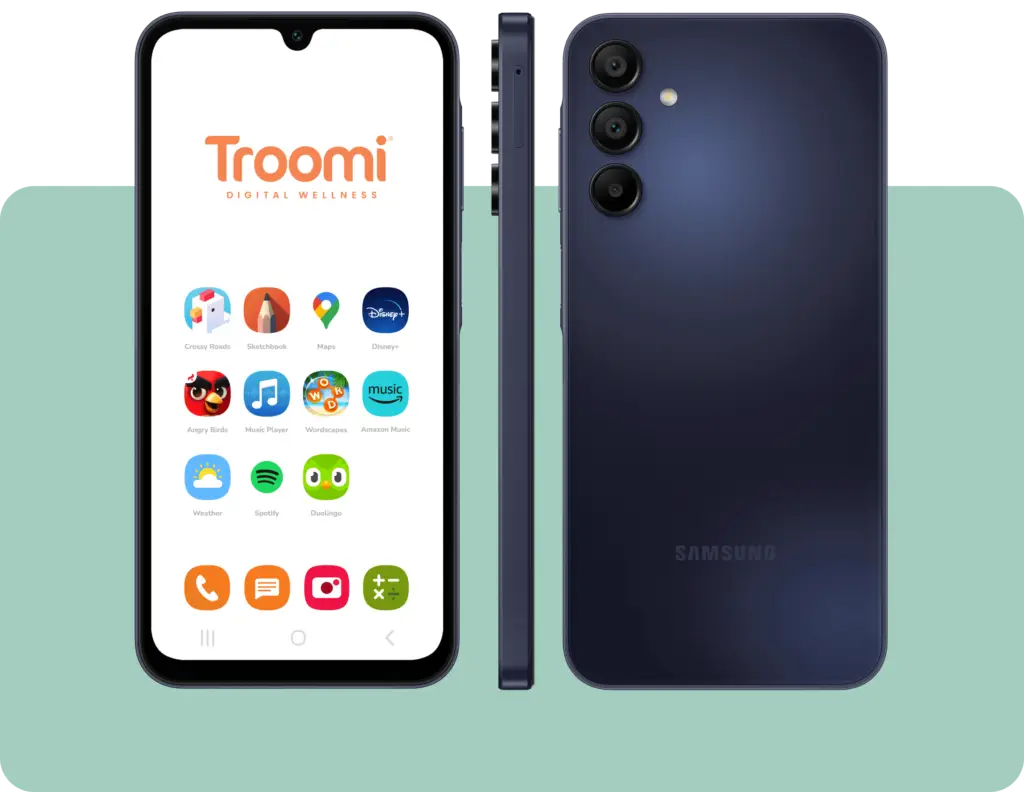
Welcome to Troomi
Let's Get Your Family Connected!
Step 1: Navigate to the Parent Portal
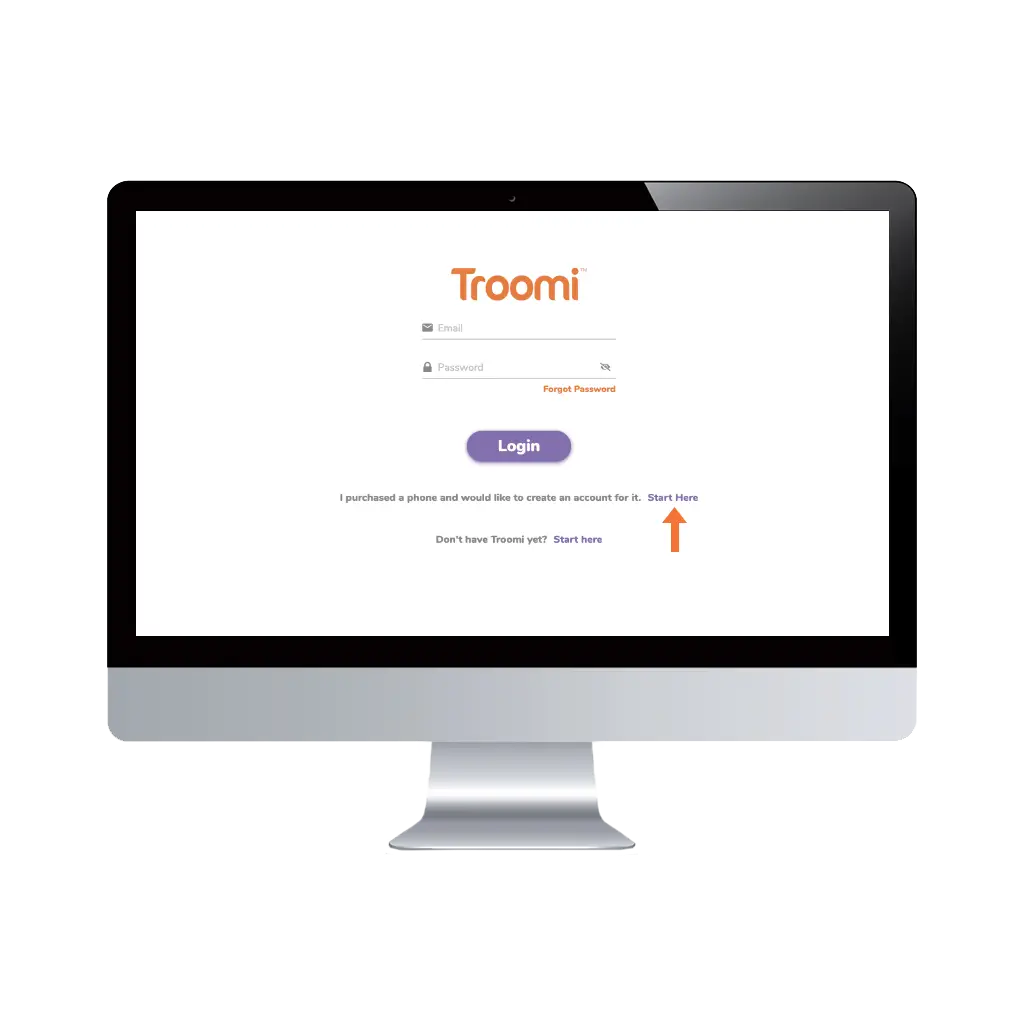
From any device other than the Troomi phone—like a computer or your own cell phone—navigate to parent.troomi.com.
Select the option: “I purchased a phone and would like to create an account for it”.
Click: Start Here
Step 2: Create your Troomi Account
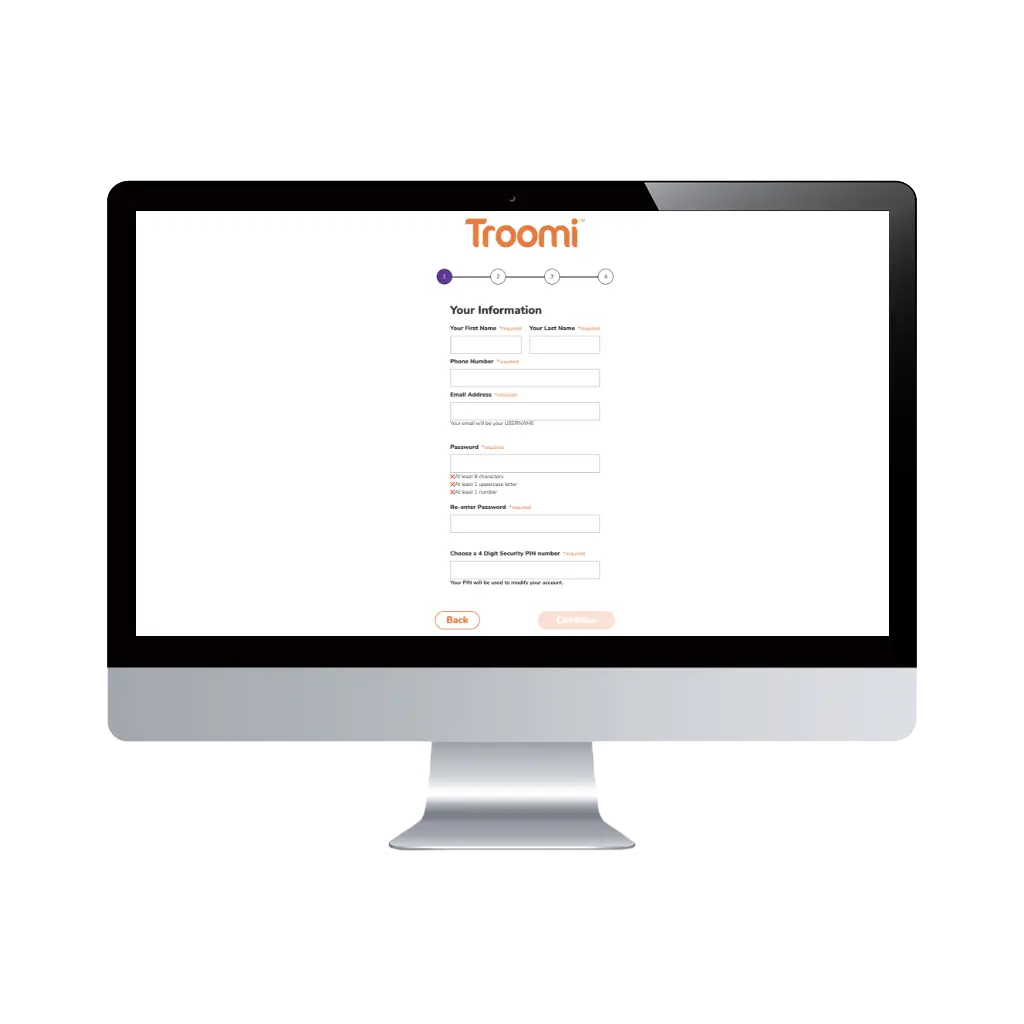
From here, you’ll enter your account information including billing address and *credit card information for your monthly plan subscription. *NOTE: Your credit card will not be billed at this time.
Account information can be updated at any time within the Parent Portal.
Step 3: Your Account is Now Live!
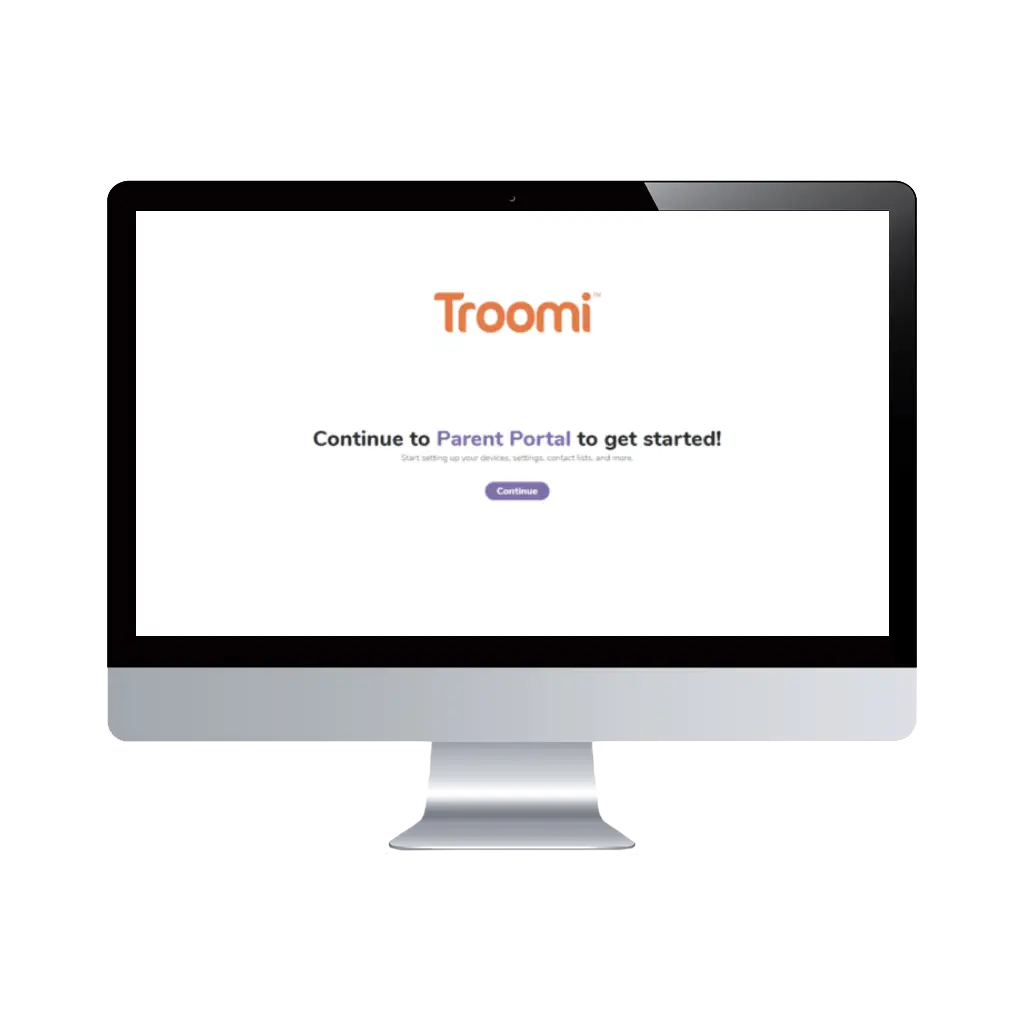
You’ll see a confirmation screen letting you know your Parent Portal account setup has been successful.
Click Continue to pair your new Troomi device to your Parent Portal account.

Step 4: Pair Your New Troomi Device to Your Parent Portal Account
Click ‘Add New Device’ and then enter your child’s info.
Select YES/NO for insurance.
Select YES/NO for requesting to use an existing number (aka porting a number). If YES, follow the prompts…If NO, continue to step 5.
Step 5: Turn on Your New Troomi Device and Connect to *Wi-Fi
Hold down the power button until the phone turns on, then swipe up on the lock screen to open the phone. After a few seconds, the phone will check for updates and the Troomi app will open. *You must connect to Wi-Fi before moving on to the next step.
Additional instructions for Wi-Fi connection can be found here.
Some things to note:
1) Your SIM card is already installed. Please do not try to install a SIM card from another phone or carrier! This is especially important if you are porting a number.
2) It’s normal to see KPE: Internal Error before the phone connects to Wi-Fi.
Step 6: Continue to Pair Your Device
Hit Continue from your Parent Portal.
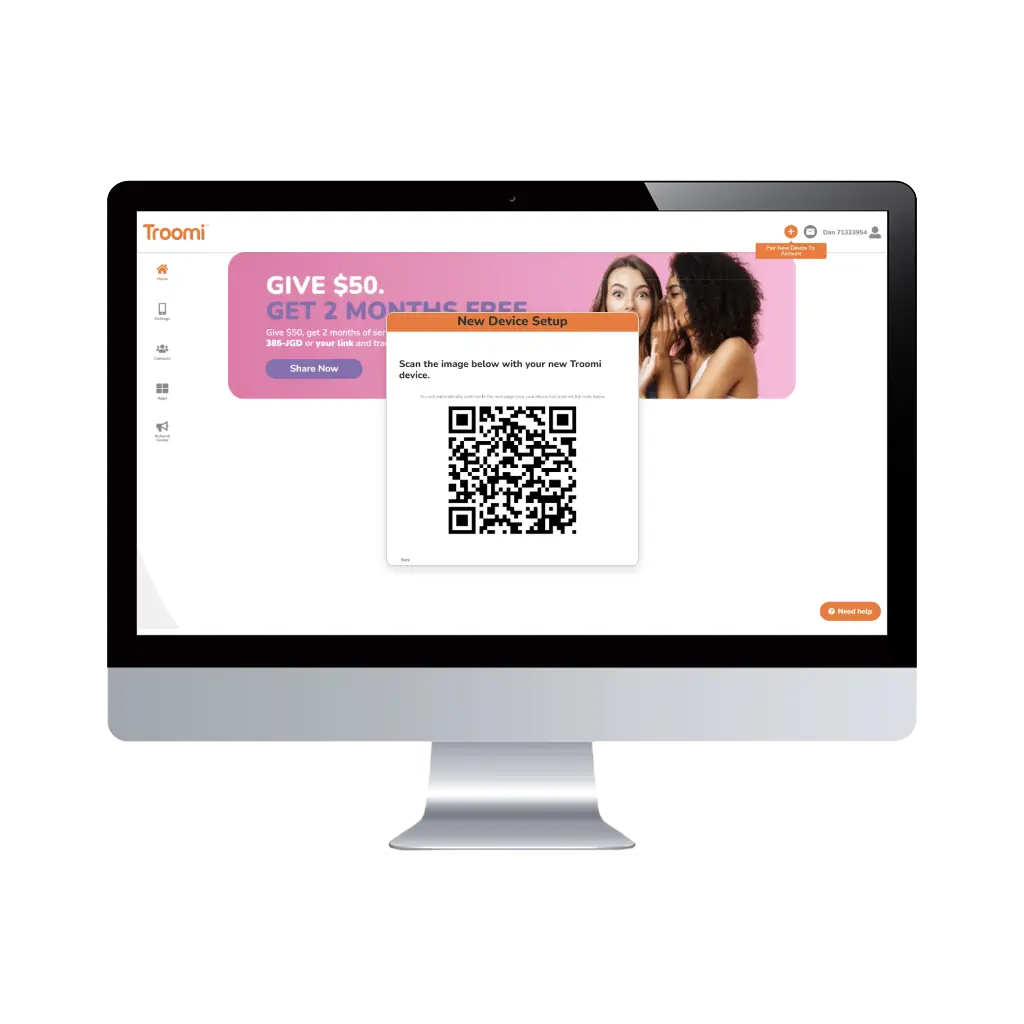
On your Troomi device: If it’s not already open, tap the purple Troomi App to open it. Tap the SCAN QR CODE button.
Scan the QR code on your Parent Portal with your Troomi device.
Review your monthly payment summary and agree to our Terms & Conditions.
Then click ‘Add Device’
Your Troomi device is now synced to your Parent Portal!
Step 7: Confirm your Device has Paired Correctly
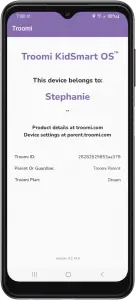
Your Troomi device will restart. Once rebooted, it will begin installing the standard Troomi apps and will show the Troomi app screen.
This will activate the mobile service and port in your phone number if you chose to do that during the pairing process.
Note: Until your phone number is activated, it’s normal to see •• for the phone number.

Step 8: Time to Complete Your Onboarding
In the Parent Portal, next to “Your onboarding is incomplete”, select Continue.
Acknowledge you have the correct device and select Continue.
If you’re not porting a phone number, Activate your phone number. If you are porting a number, follow the prompts to complete the port.
Confirm your phone number after another reboot.
There is a $49.95 charge for replacing phones with forgotten PINs. This process can take several weeks! Mark that you acknowledge this and agree to the statement about setting a phone security PIN and select Continue.
Onboarding complete! Select Finish.
Step 9: But Wait, There's More...
It’s time to test out your device. Before you can place a call or send a text, you’ll need to complete these additional setup steps.
Your Troomi device is now ready to configure and use! We suggest adding a contact, making a test call, and sending a text. You can add a contact from the Parent Portal or from the Dialer app on the Troomi device.
On the off chance you can’t make a call or send a text to a contact you’ve added, contact Troomi Support so we can help you resolve this.
Now you’re ready to configure the phone to cater to your child’s needs and maturity. Navigate through the icons on the left to adjust settings for things like screen time and internet use.


ONE MORE THING... Refresh the Parent Portal.
In the Parent Portal, return to the Home tab. Refresh your browser to make sure the GPS location and phone number have updated.
Give yourself a high-five for successfully setting up your Troomi device.

Time for an Upgrade? Welcome Back.
Let's Get Started:

Step 1 (Desktop): Pair Your Upgrade or Replacement Device
On a device other than your Troomi phone, log in to your current Parent Portal account.
Select ‘Pair New Device to Account’. Then select ‘Replace/Upgrade Device’.
Update your child’s device info if necessary and then click ‘Next’. Add Troomi Insurance if interested.
You are now ready to pair your new phone!
Important: Your Troomi phone comes with a SIM card preinstalled. Please do not remove the SIM card from the phone.
Step 1 (Mobile): Pair Your Upgrade or Replacement Device
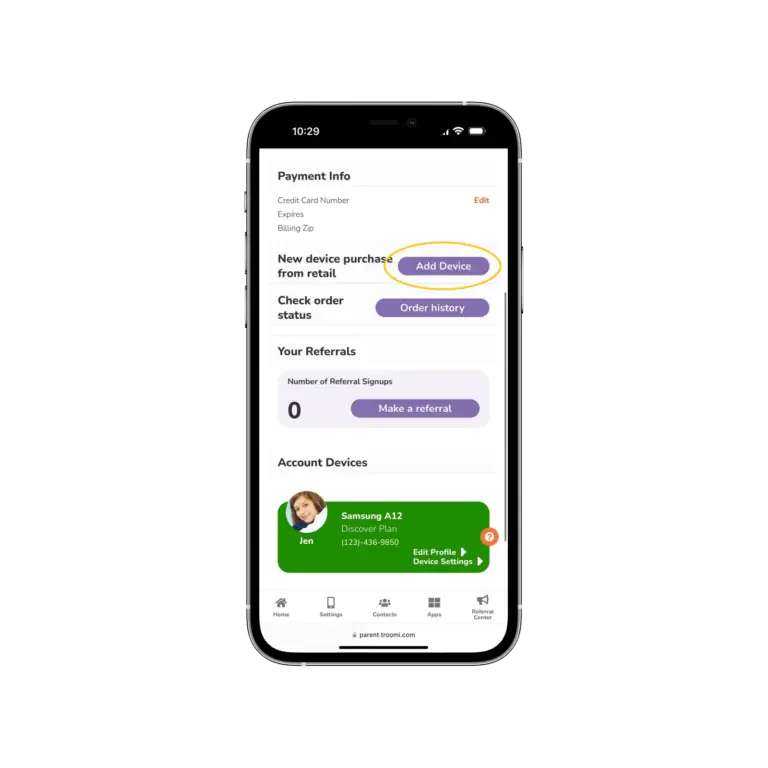
If you are on a mobile device, click on your profile icon, then click ‘Add Device’.

Step 2: Turn on Your New Troomi Device and Connect to *Wi-Fi
Hold down the power button until the phone turns on, then swipe up on the lock screen to open the phone. After a few seconds, the phone will check for updates and the Troomi app will open.
*You must connect to Wi-Fi before moving on to the next step.
Additional instructions for Wi-Fi connection can be found here.
Step 3: Continue to pair your device
Hit Continue from your Parent Portal.
On your Troomi device: If it’s not already open, tap the purple Troomi App to open it. Tap the SCAN QR CODE button.
Scan the QR code on your Parent Portal with your Troomi device.
Agree to our Terms & Conditions and select ‘Add Device.’
Your Troomi device is now synced to your Parent Portal!


Step 4:
But Wait, There's More...
Your Troomi phone will now begin syncing contacts and installing apps from your previous device.
We suggest adding a contact, making a test call, and sending a text. You can add a contact from the Parent Portal or from the Dialer app on the Troomi device.
On the off chance you can’t make a call or send a text to a contact you’ve added, contact Troomi Support so we can help you resolve this.
Frequently asked questions
Everything you need to know
Troomi is the safe phone that grows with your child. We provide safety today and prepare kids for the future. Other solutions are so locked down that they quickly become impractical as children’s needs evolve.
Troomi also prevents problems before they happen! With Troomi, prevent problems by keeping kids away from pornography, predators and the dangers of social media to begin with.
Simplify your child’s safe phone with one service that does everything you need. Pay for your safe phone and phone service in one place, with no extra subscriptions required.
You won't be locked into anything, and can cancel at any point. If you cancel, you will not be required to continue payment once the current month is over. No contracts, here! Our service is a simple month-to-month system.
You won't be locked into anything, and can cancel at any point. If you cancel, you will not be required to continue payment once the current month is over. No contracts, here! Our service is a simple month-to-month system.
No monthly contracts! We don’t lock you in because we know you’ll want to stay.
Have confidence with our 30-day, money-back guarantee! Return your device within 30 days of purchase for a refund minus shipping and any applicable repair fees.
You can bring the number with you! We make porting a number into Troomi as painless as possible. We’ll welcome you—and your phone number—with open arms.
During the checkout process, you’ll see an option to port your existing phone number. All you need to do is input your phone number and PIN from your current carrier when prompted—we’ll do the rest!
